
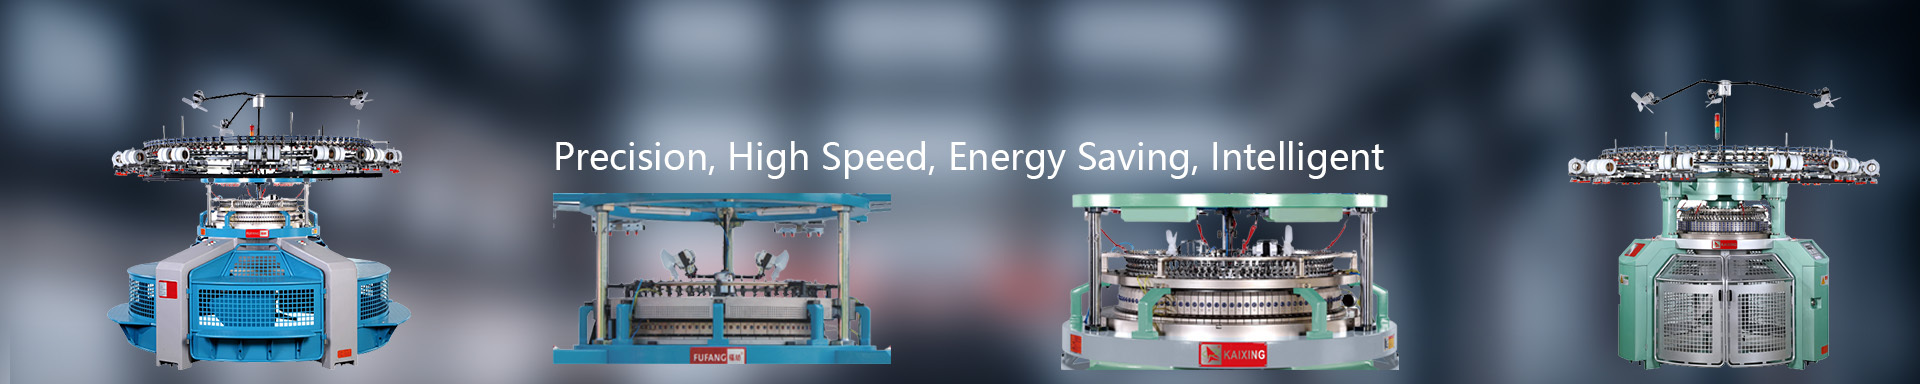
Basic operating knowledge of circular knitting machines—machine operating procedures-2
2024-04-15 20:00Basic operating knowledge of circular knitting machines—machine operating procedures-2
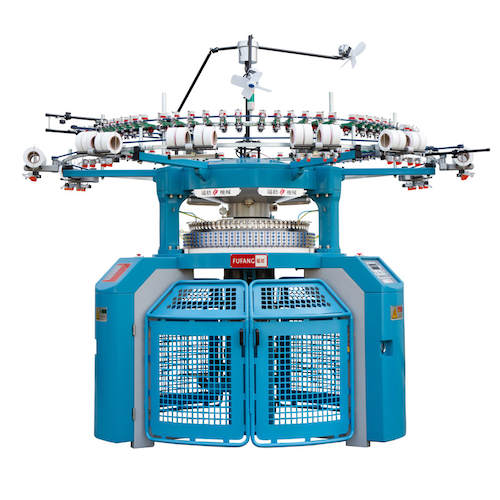
4. Operation
(1) Preparation
A. Yarn channel check
Check whether the yarn bobbin on the creel is placed correctly and whether the yarn comes out smoothly.
Check whether the yarn guide magnetic eye is intact.
Check whether the yarn is normal when passing through the tensioner and automatic stop.
Check whether the yarn passes through the yarn feeding ring normally and whether the position of the yarn feeding port is correct.
B. Inspection of automatic shutdown device
Check all automatic stop devices and indicator lights, and check whether the prober can work normally.
C. Work environment inspection
Check whether the machine table, surroundings and every operating part are clean. If there is any accumulation of cotton yarn or debris, it must be removed immediately to avoid accidents and malfunctions.
D. Inspection of yarn feeding situation
Jog the machine at "slow speed" to check whether the needle latch is fully opened, whether there is an appropriate gap between the yarn feeding port and the knitting needle, and whether the yarn feeding condition is good.
E. Check the coiling device
Clear the debris around the cloth rolling machine, check whether the cloth rolling machine is operating normally, and whether the various speeds of the cloth rolling machine have been appropriately adjusted.
F. Check safety devices
Check that all safety devices are intact. Check buttons everywhere are intact.
(2) Power on
Press "Slow" to start the machine and run it for a few times without any abnormality, then press "Start" to start the machine.
Adjust the variable speed adjustment knob of the frequency converter to achieve the required machine operating speed.
Turn on the power supply of the automatic parking device.
Turn on the lighting on the top plate to monitor the weaving condition of the cloth.
(3) Monitoring
Always lower your head and check the cloth surface under the machine to see if there are any flaws or other abnormalities.
Every few minutes, touch the cloth surface with your hand in the direction of machine operation to feel whether the winding tension of the braid meets the requirements and whether the winding speed at both ends of the winding shaft is consistent.
Clean the oil stains and lint on and around the transmission system, machine surface and surroundings at any time to keep the working environment clean and safe.
In the early stages of weaving, you should cut a small piece of the edge of the fabric for light transmission inspection to observe whether there are defects on both sides of the braid.
(4) Shutdown
Press the "Stop" button and the machine will stop within 0.5 seconds.
If the machine is shut down for a long time, all switches should be turned off and the power supply should be cut off. Clean the machine surface and take preventive measures.
(5) Drop cloth
After the predetermined number of knitted fabrics (such as machine revolutions, weight or size) is completed, the marked yarn (i.e. yarn of different colors or qualities) should be replaced at one of the yarn feeding ports. Then about 10 turns should be knitted in.
Connect the marker yarn back to the original yarn and reset the counter to zero.
When the cloth section with the marked yarn reaches between the take-up shaft and the take-up roller, stop the machine.
Open the safety net door and cut the woven fabric from the middle of the marking yarn section.
Hold both ends of the cloth rolling roller tightly with both hands, take out the cloth roll, place it on the cloth push cart, and pull out the cloth rolling roller and reinstall it on the cloth rolling machine. During this operation, be careful not to collide with the machine or the ground.
Thoroughly check and record the weaving conditions of the inner and outer layers of the existing hanging fabric on the machine. If there is no abnormality, roll it up on the rolling roll, close the safety net door, and check that the machine's safety system has not failed before starting the machine.
5. Exchange knitting needles
(1) Determine the location of the broken needle based on the cloth surface, and use manual or "slow" inching to move the broken needle to the needle door position.
(2) Loosen the locking screw of the needle door block and take out the needle door block.
(3) Push the broken needle up about 2 cm, push the needle shaft back with your index finger, so that the lower end of the needle body tilts outward to expose the needle groove. Hold the needle body and pull it downward to take out the broken needle, and use it smoothly. The needle bar removes dirt from the needle groove.
(4) Insert a good needle of the same specification as the bad needle into the needle groove, pass it through the needle spring, reach the correct position, install the needle door block and lock it.
(5) Jog the machine to make the new needle feed the yarn, observe the movement of the new needle (whether the needle latch is open and whether the movement is flexible), and after confirming that there are no abnormalities, start the machine.